Yes, the tub and shower are done, and that was what we originally were aiming for. And we really like how our subway tile surround turned out. Now we're mostly into improving the aesthetics, since we know this bathroom will now be a place used heavily by Mr. Baby and his needs.
Since the last update, a few things have happened. I repainted the ceiling the same color as Mr. Baby's room- Gray Owl by Benjamin Moore. Steve has begun trimming out the room and we've got floor-to-ceiling bead board on one-and-a-half walls. I've caulked and painted the bead board that's already finished. All of these things were planned.
 |
| So fresh and so clean clean. |
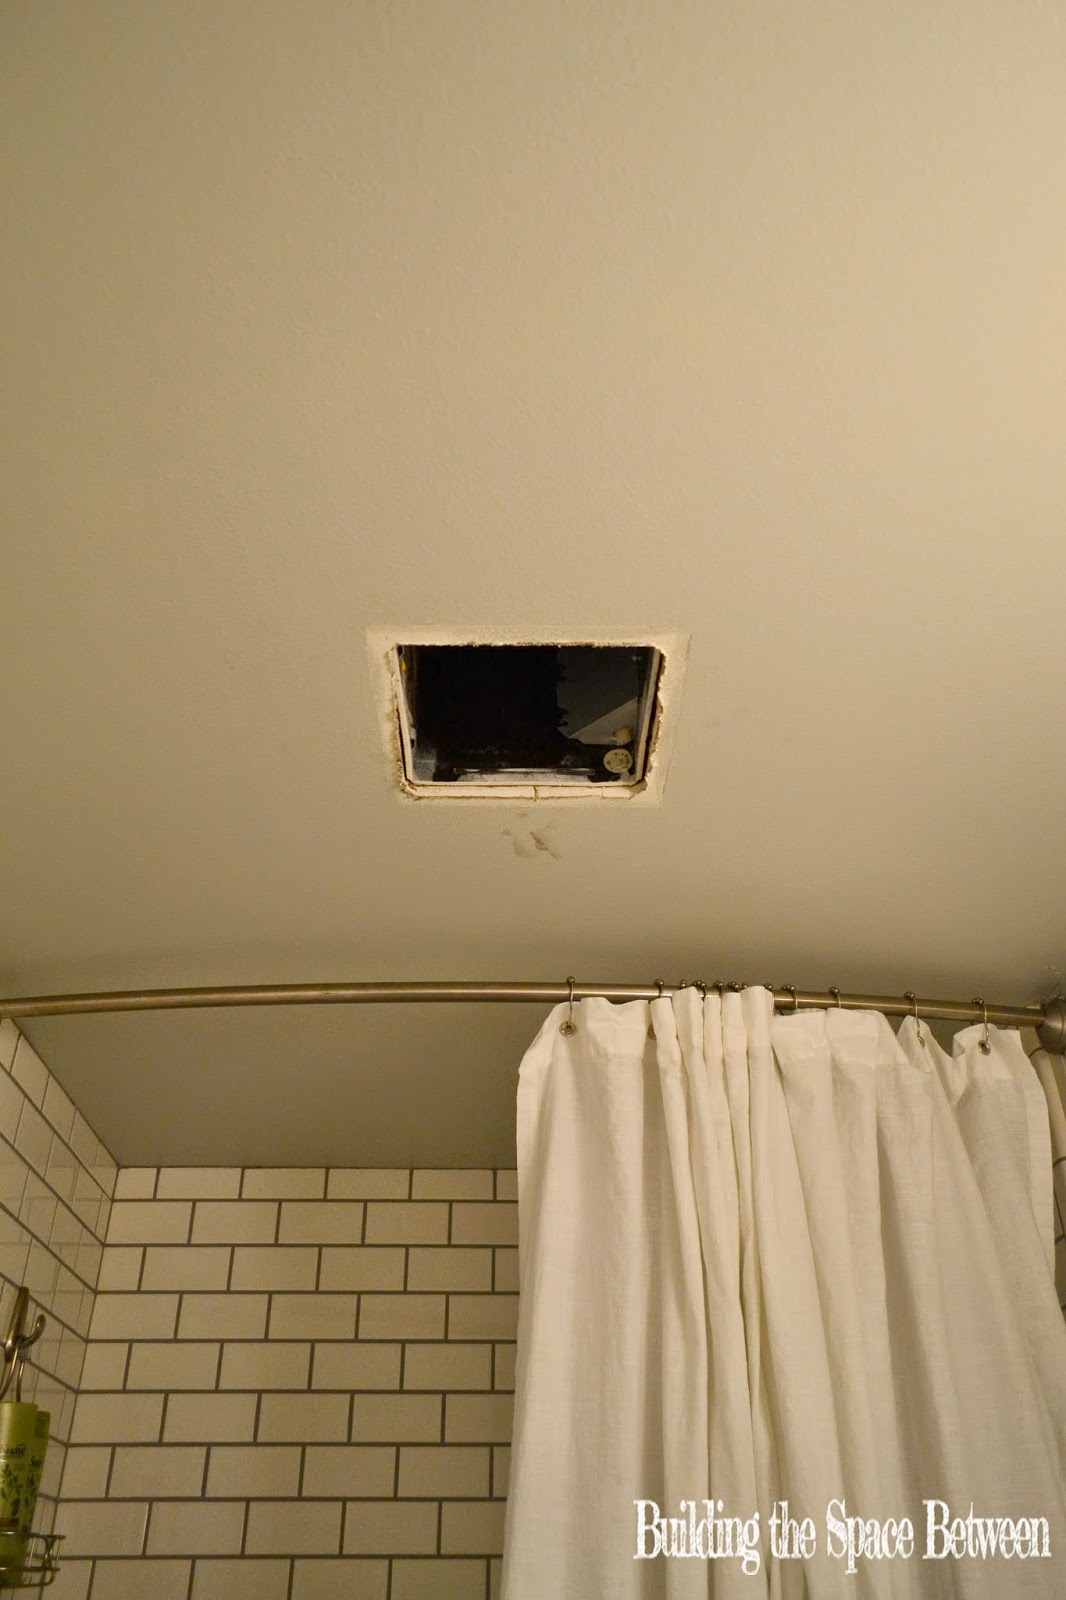
We did make two unplanned improvements as well. After helping my parents install some new toilets a few months ago, we decided to upgrade our toilet too. Costco had awesome toilets, so we sprung for those. The new toilet is chair-height, which means it'll be easier for our less-agile family members (which includes me at the moment!!) to get on and off the toilet easily. It's also one piece (easy installation and cleaning), low-flow (our old toilets were not), less prone to clogging, and quiet. Plus the sale price at Costco was about $400 less than the particular brand of toilet normally costs. Our other unplanned improvement is still in progress. The motor in the bathroom fan gave out. Since the fan is loud, difficult to operate (it's on a timer switch), and moves less air than is necessary in a bathroom that size, we decided to purchase a new high-capacity fan that's much quieter, and change out the timer switch to a regular on/off switch. Unfortunately, installing the fan will require Steve to crawl through our ceiling, so we've been waiting for Steve to finish his boss' desk and for the weather to give us a nice cool day so that he doesn't roast up there.
 |
| Less than fan-tastic. Har! |
All the rest of the updates are fun aesthetic updates that are bumping up the color factor in this room, coordinating a little better with Mr. Baby's room, and better serving the functional needs of a bathroom that will soon be used mostly by a little boy, sometimes by visitors, and occasionally for overnight guests. I painted our mirror frame the same blue that I used on Mr. Baby's chest of drawers- Twilight Chimes by Behr. The rugs, towels, and new soap dispenser all came from Target (which I managed to purchase on sale- yeah!).
 |
| Hello, nasty unfinished wall! |
My favorite update though, was the trickiest one for me- the shower curtain. It was easy enough to find a shower curtain liner long enough for our shower curtain rod, which is hung just below ceiling height. I was having a terrible time finding a fabric shower curtain that would be long enough, not look cheap and junky, be easy to wash, and let a decent amount of light through. After searching and searching and coming up empty handed, I decided to make my own shower curtain.
 |
| DIY shower curtain. |
I purchased two 96" length rod-pocket curtains from Target. The ombre effect seemed like it might be bright enough to let in decent light, and the teal color coordinated beautifully with the bath mat. After pre-washing the curtains, I did some math- I measured the opening of the shower and the width of the two curtains, and chose to place the grommet holes about 8" apart (the grommet holes on the liner were more like 6" apart) leaving 3" of extra fabric on each end and overlapping the two grommets where the curtains would meet. Originally I forgot about needing to overlap the grommets, which would have left me with a gap between the two curtains right in the middle- oops. After I carefully measured, marked, and cut holes for the grommets, I used a grommet kit from Michael's to tap the grommets into place.
 |
| Please ignore the unfinished wall bits. |
I love how it turned out. The fabric is nice and light. The color at the bottom of the curtain is saturated and matches the bath mat really well. I didn't have to do any sewing at all. Best of all, this little DIY project cost less than most of the 96" shower curtains I found on the interwebs- less than $5 for a grommet kit, and two curtains from Target (also purchased on sale). Not only that, but the height of the shower curtain makes the room look taller and roomier than it is.
 |
| From this angle the bathroom looks finished! |
Pretty sure I will never buy another stock shower curtain again. :)

It’s too bad that it took you some time to update the project. I think it would’ve been better to have hired a contractor, so that it could be finished on time. Anyway, it’s good that you were able to continue working on it until it’s done. At the very least, there won’t be any hassle for those who are going to use the bathroom in the future. Cheers!
ReplyDeleteLovella Cushman @ Perfection Plumbing